Things are looking up
with a painted ceiling!
Benny Montalbano
Painting your damaged ceilings can be a great way to freshen up the look of 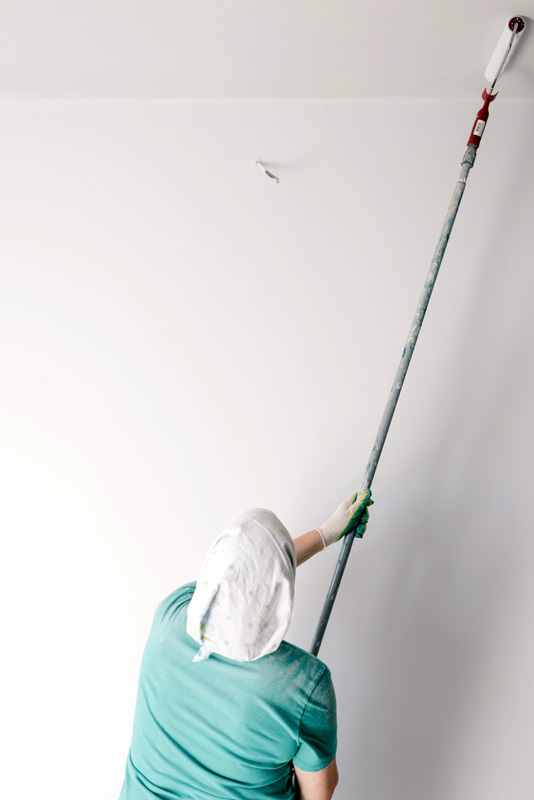 your home and hide any imperfections. However, it’s important to approach the task in the proper way to ensure a smooth and professional-looking finish.
The first step in painting your damaged ceilings is to properly prepare the surface. This means removing any loose or flaking paint, filling in any cracks or holes, and sanding the surface to create a smooth and even surface. It’s also a good idea to clean the ceiling thoroughly to remove any dust or dirt that may have accumulated.
Once the surface is properly prepared, it’s time to apply the paint. It’s important to use the right type of paint for your ceiling. A flat paint is a good choice for ceilings, as it will help to hide any imperfections and provide a smooth finish. If your ceiling has a lot of damage, you may want to use a paint with a higher sheen, such as an eggshell or satin finish, to help reflect light and make the surface appear smoother.
When applying the paint, use a high-quality paint roller or brush and work in small sections at a time. This will help to ensure an even coverage and prevent drips or runs. Be sure to overlap each stroke to ensure a smooth finish.
It’s also important to pay attention to the edges of the room, such as around the corners and where the ceiling meets the walls. Use a brush or small roller to paint these areas, being careful not to get paint on the walls.
Finally, it’s important to allow the paint to dry fully before applying a second coat. This will help ensure a smooth and even finish, and will also help to prevent any issues with the paint cracking or peeling in the future.
By following these steps, you can ensure that your damaged ceilings will look fresh and new after being painted. Remember to always use a mask and ventilation while working on painting projects.